Shipping Module
Shipping Module
- Shipping Method (shipmeth))
- Multiship (MS)
- Frans specific Shipment customization
- Default Shipping Method
- Picked Up (pickup) at Fran's
- Frans custom for Shipment module
- Check cutoff date in FE checkout
- Offline Mode
- Print Multiple packages per ship - UPS
Default Shipping Method
1/ Default Shipping Method rules:
For recipients on our 1 or 2 day zipcode list we want to pre-select UPS Ground - code UPS_03
So 1 or 2 day ground zips should default to UPS_03
Everything else should default to UPS_02
nothing should default to overnight / UPS_01, that’s the more expensive option and would only be used by request.
2/
Picked Up (pickup) at Fran's
Pick-up at Frans orders (pick-up orders) are orders that have ship method `Pick Up at ...` . The order will be picked up in one of the four pick-up stores in Frans.
Here are the steps to process a pick-up order:
Step 1: Place order
Make an admin single ship pickup order by picking the fran's store and pickup method.
When placing order, choose ship method `PickUp.. `; such as `Pickup Downtown`. Make sure shipping address matches.
Step 2: Ship
Go to the QA page and create `Create Shipment` to make the shipment.
Step 3: Print tickets in QA
It must be in 'printed' status to process the pickup: click `Print` button.
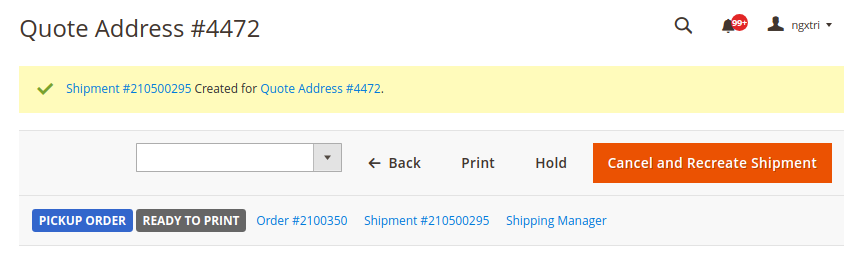
Print page will be shown:
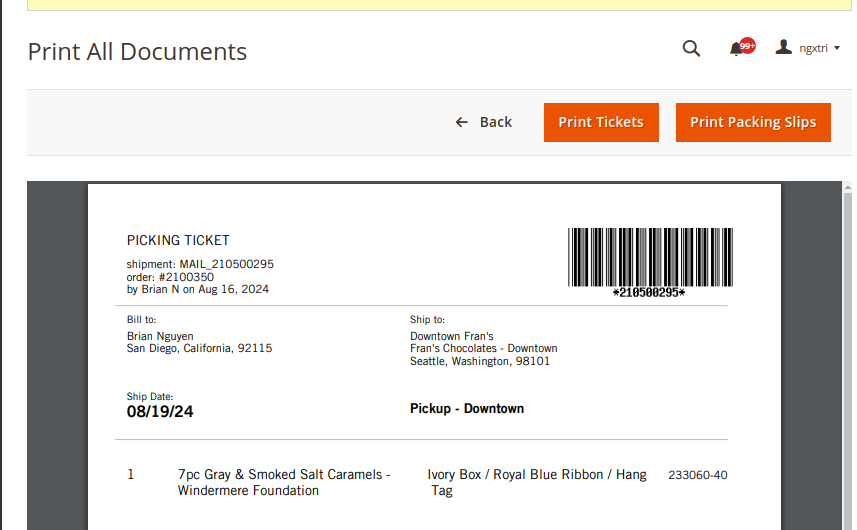
Click 'Print Tickets' then either print the document, or cancel the print dialog. That will change the QA/Shipment to printed status:
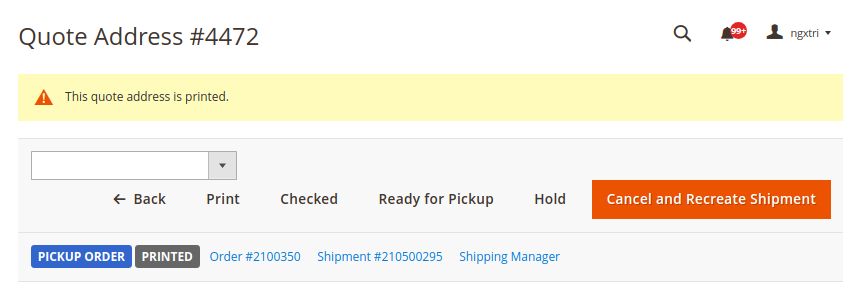
Step 4: Mark QA as Ready For Pickup
Go back to the QA page, you should see button 'Ready for Pickup' option now, click that one. Shipment will be generated, and QA should look like this:
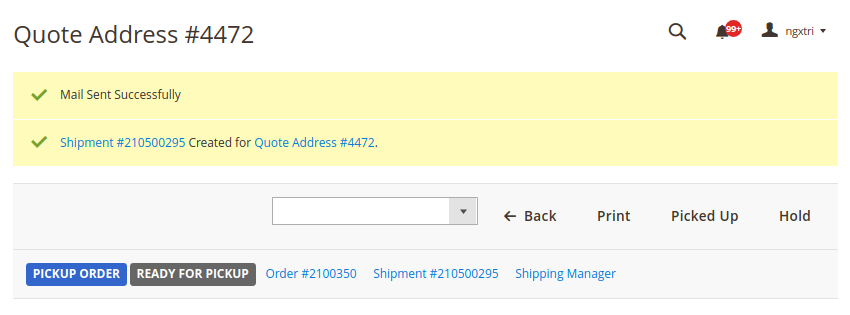
Step 5: Pick up the order
On QA page, click 'Picked Up'. That will finalize the pickup order and create the invoice. A `picked up` email will also be sent.
Frans custom for Shipment module
Frans shipment has some custom.
1/ Shipment created vs shipment shipped
Shipping process goes like this:
- step 1 - Shipper creates a shipment
- step 2 - Shipper adds packages to shipment
- step 3 - Shipper adds products to shipment's packages
- step 4 -Shipper prints label
Notice that after step 4; sales_shipment has column `ship_date` populated. Before step 4; `ship_date` is empty.
We use `sales_shipment` column `ship_date` to determine if and when the shipment ACTUALLY shipped. We call that column actual-ship-date. Do NOT use `sales_shipment` created_at column - that column only means that shipment begins (step 1).
Check cutoff date in FE checkout
11/19/24
In frontend checkout, there's a js polling that runs every 1 minute to get the latest cutofftime
Offline Mode
For shipping with UPS, there's an offline mode:
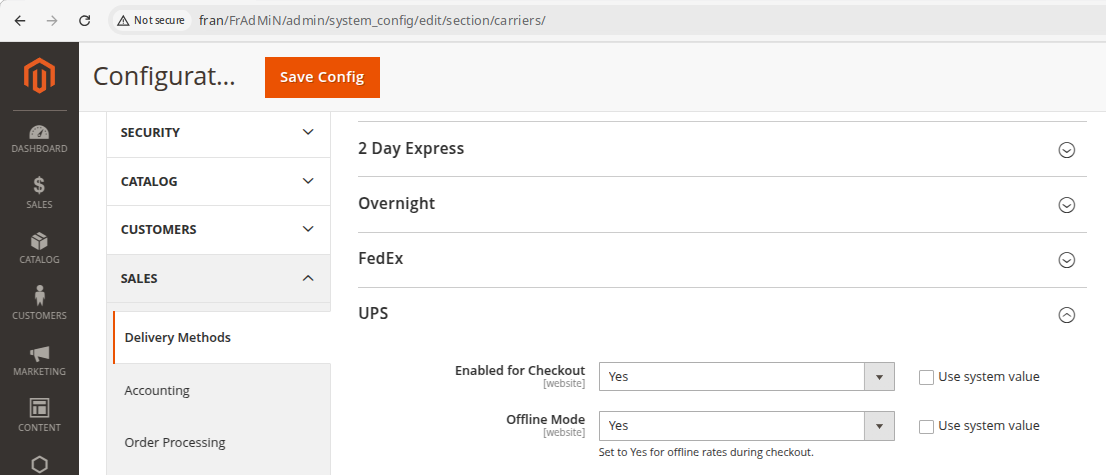
When Offline Mode is Yes, ship rate calculation is faster. No need to call UPS for live rates.
Please use this with care; because it might give you outdated UPS shipping rates.
Only use this `Offline Mode` for development; and remember to turn it off after use.
Print Multiple packages per ship - UPS
Shipping Manager - Allow multiple packages for a shipment
Example Shipping Manager UI; which has box `Number Of Labels` :
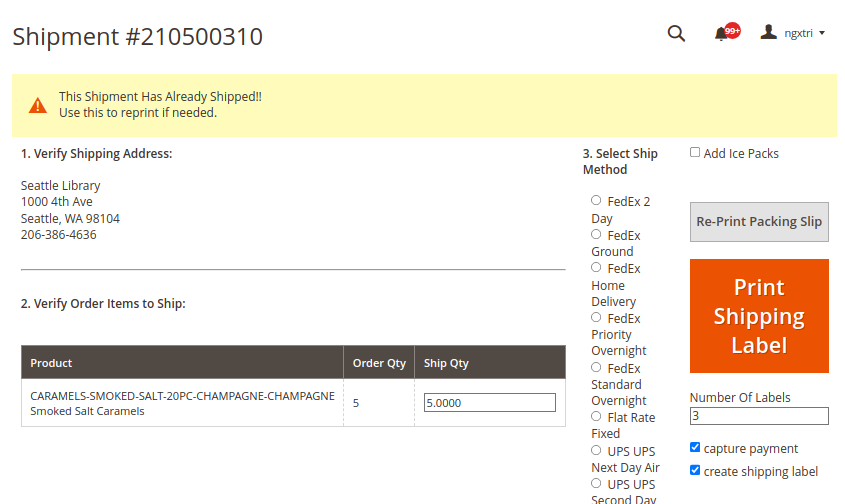
For example, admin chooses Number Of Labels = 3 , and click `Print Shipping Label`
`shipping_manager.js` calls ShippingManager/Post/Index
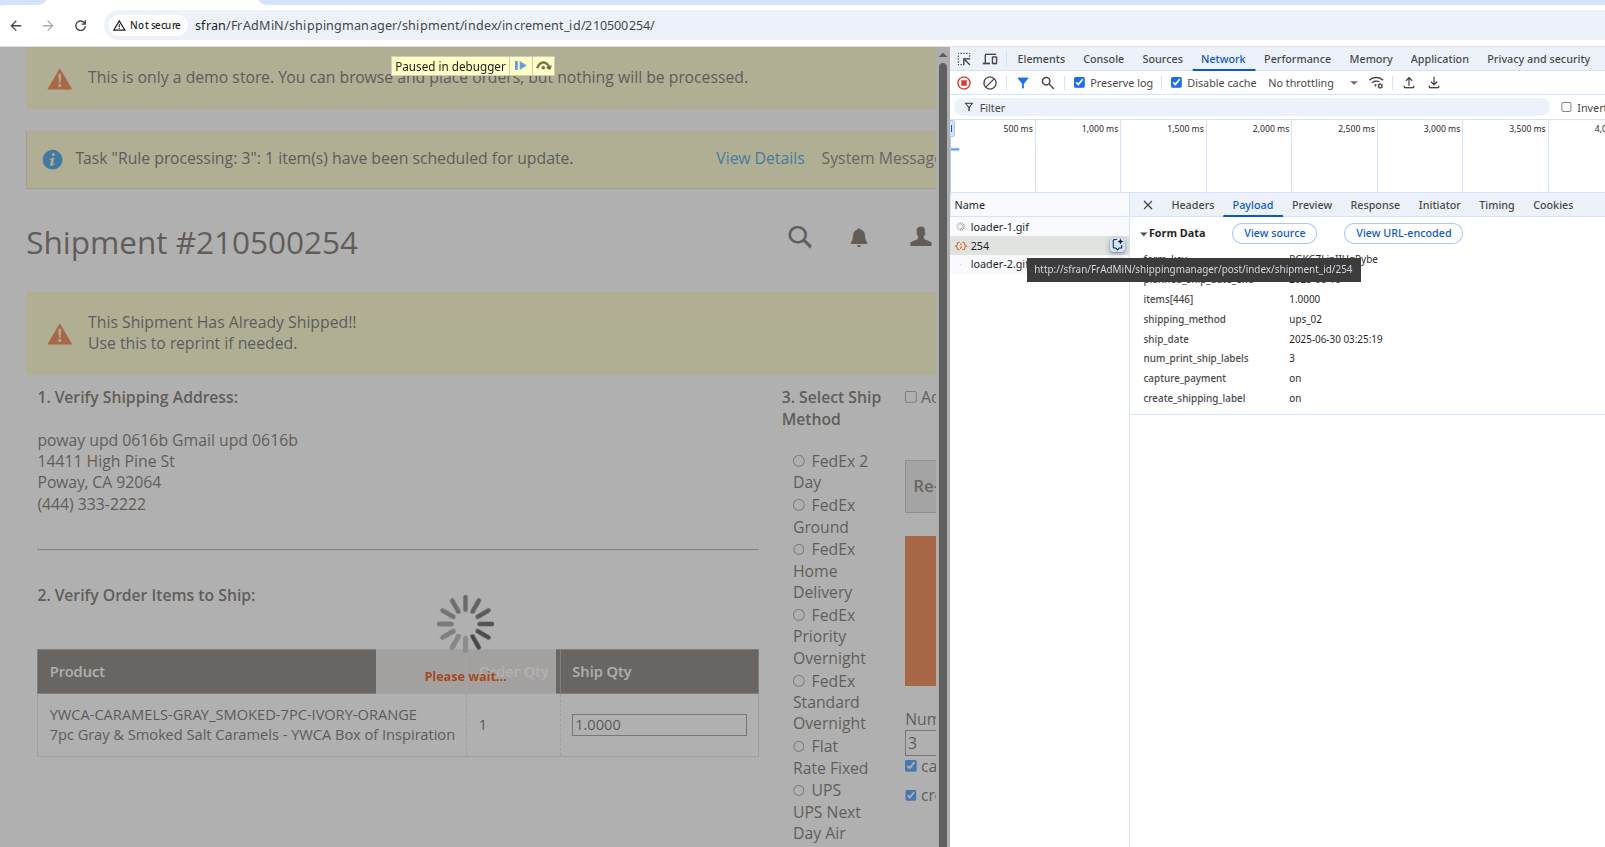
Behind the scenes, app/code/Frans/ShippingMethods/Model/Carrier/Ups.php function requestRestQuotes() sends multiple packages to UPS API. UPS returns with 3 labels for 3 packages
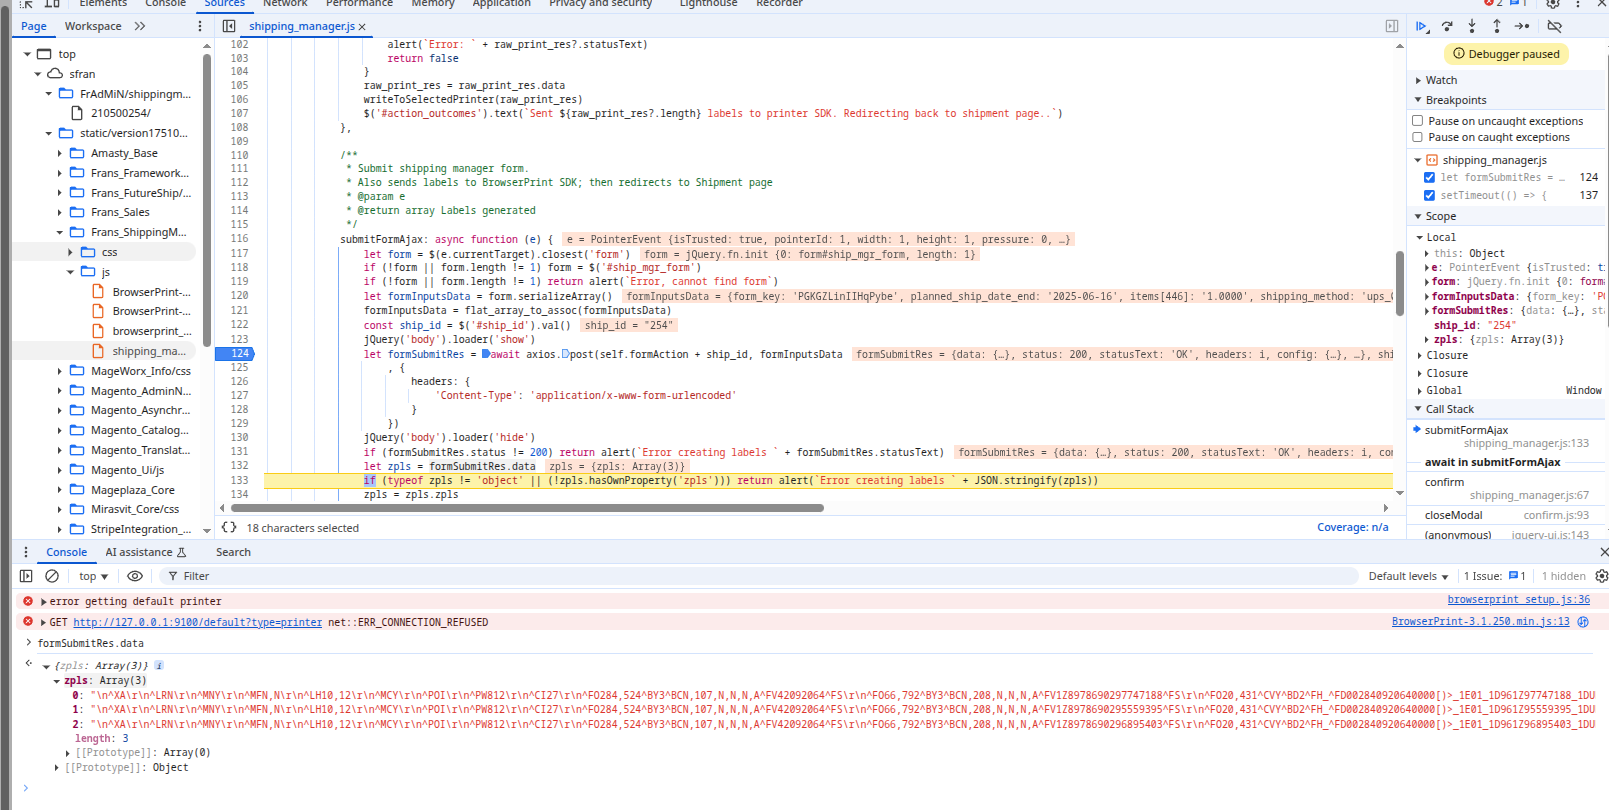
With the 3 zpls returned, js function writeToSelectedPrinter(zpls) is called. This function sends 3 zpl labels to the BrowserPrint SDK
BrowserPrint sends those 3 labels to the physical Zebra printer.